button front
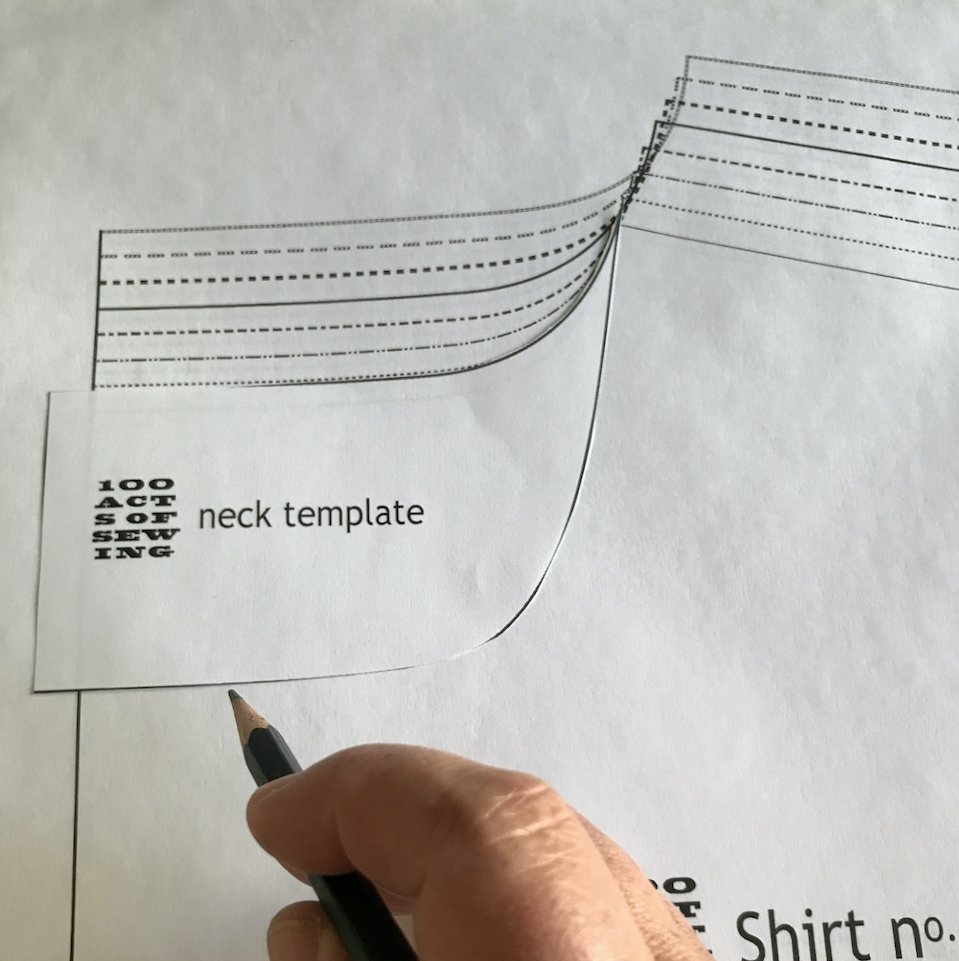
For Dress no. 2 or Tuinc no. 1, use front pattern piece. For Dress no. 1 and Shirt no. 1 lower neck to desired level or use the neck template on back pattern piece.

Fold fabric in half, wrong sides facing and prepare by cutting along the fold. Next, place pattern piece 1 1/2 inches (4 cm) from edge. This extra width will make the button placket.

Draw line from fabric edge to pattern piece. Trace around pattern piece to bottom edge, then cut. You should have two separate front pieces.

Follow the instructions in the pattern for sewing shoulders and sides. Finish the edges with pinking shears, zigzag stitch or serger.

Working with the front, fold edge 1/4 inch (6 mm) to the wrong side and press. Repeat on other side.

Next, fold edge 1 inch (2.5 cm) to the right side and secure by placing pin. This will be turned right side out later.

Sew along fold, 1/4 inch (6 mm) from neck edge. Repeat on other side.

Next, attach bias tape to neckline. With right sides facing, unfold bias tape and pin to neckline. Starting at the right front, overlap the beginning of the bias tape with folded edge of the placket by 1/4 inch (6 mm). Pin all the way around the neck. When you reach the left front, cut bias tape, making sure to leave a generous 1/4 inch (6 mm).

Starting at the first 1/4 inch (6 mm) placket fold, sew, following the fold line of the bias tape.

Next, trim the placket corner, being careful not to cut too close to stitches. Repeat on other side.

Turn placket to the front, flipping bias tape to the inside of garment. Repeat for other side.

Press along the folded placket, keeping it folded 1/2 inch (6 mm), pin and repeat on other side. Press bias tape and pin.

With wrong side facing and starting at the top of the neck edge, sew 1/8 inch (3 mm) along edge of placket. Repeat on second side.
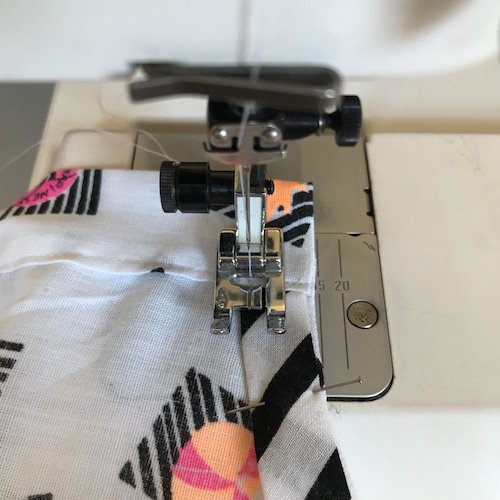
Starting at the line of stitches, sew 1/8 inch (3 mm) along edge of bias tape. Follow instructions for hemming and finishing sleeves or armholes.
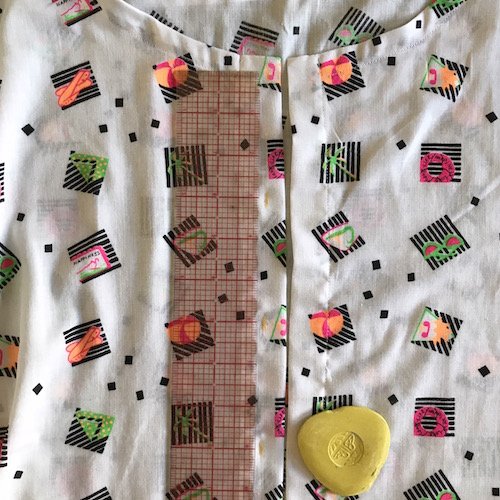
Select buttons or snaps. Lay garment on a flat surface to measure to mark for placement – three inches apart on garment shown.
Traditionally, women’s garments button up from the right: button holes on the right front, with buttons sewn on the left. Follow your sewing machine’s instructions and practice on scrap fabric to determine the best button hole length for chosen buttons.
Make button holes, then overlap plackets and use a pin through the center of each to mark for buttons. Mark with chalk and sew on buttons securely.