bias tape facing

With right sides facing, pin bias tape to neckline, starting at right shoulder, just behind the seam. Keep edges of neckline and bias tape matching and follow the curve.

When you reach the right shoulder, cut bias tape, leaving about 1/2 inch (12mm). Place both edges of bias tape together and where the two pieces meet at the dress, fold over and pinch crease both ends.
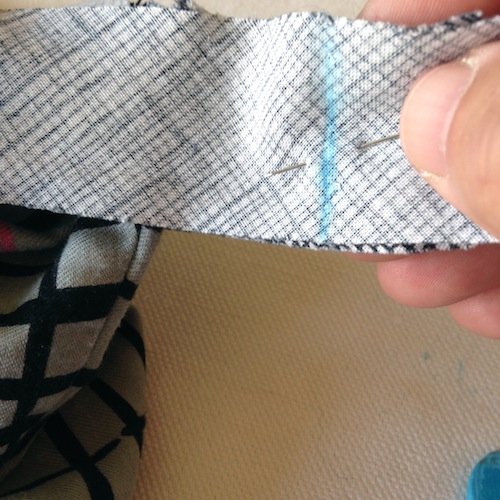
Draw a chalk line across the fold and pin the ends together. Undo any pins near the bias tape edges, move the fabric of the dress body away and sew along the fold. Cut ends to 1/4 inch of seam.

Sew the bias tape to the dress dress using 1/4 inch (6mm) seam allowance.
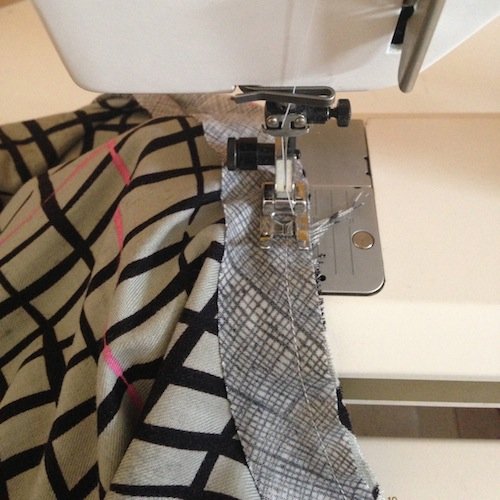
Sew the bias tape to the dress dress using 1/4 inch (6mm) seam allowance.
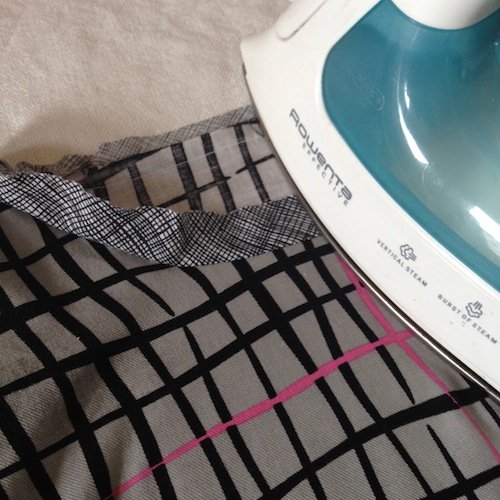
Open the bias tape up and press the right side of the neckline along the sewn seam.

Next, fold the bias tape over 1/4 inch (6mm), to the edge of the neckline and press.

Then fold bias tape to the wrong side of the dress, with approximately 1/2 inch (12 mm) showing.

Press and pin in position, placing the pins on the bias tape side.

Working from the inside of the dress, sew the bias tape a scant 1/8 inch (3mm) from the folded edge, taking special care on curves.

Another option for sewing the neckline is to change to the widest zig zag setting and stitch around the neckline.